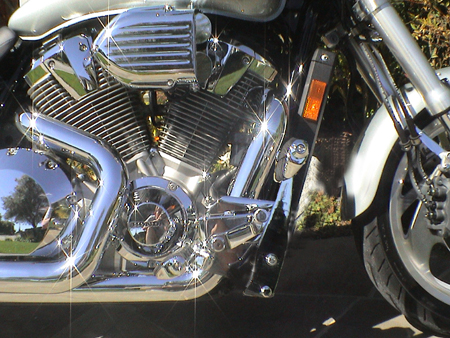
VTX 1800 C
Actually, on the web page, that's just a Photoshop trick--the rotating of the
peg on the bolt. I did it so I could show how far it moved forward.
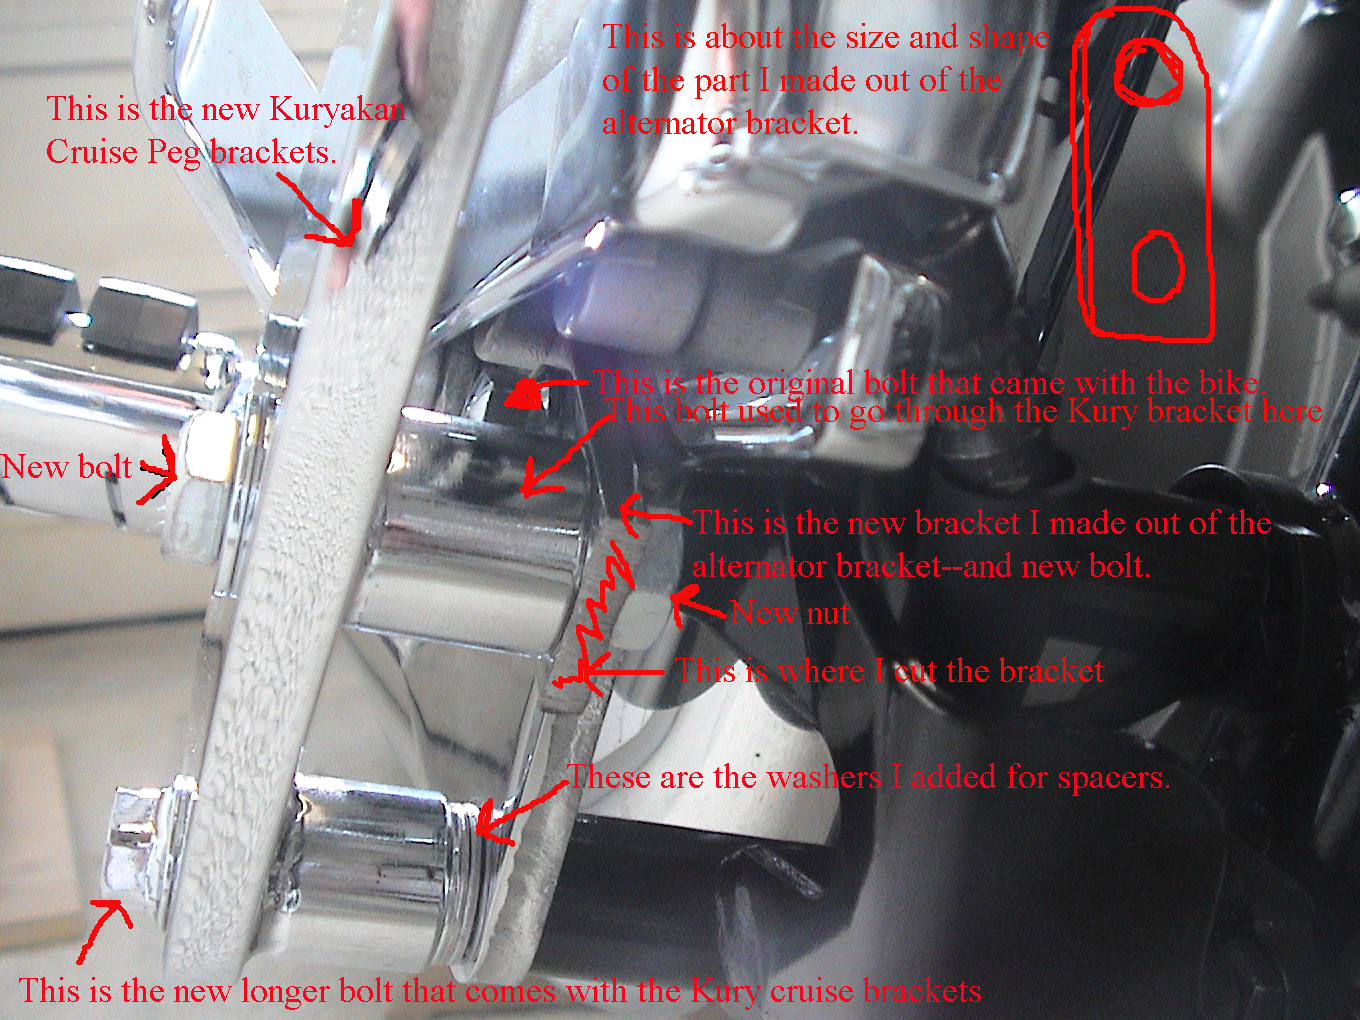
In reality, for the cruise peg on the right side, I made a bracket out of a chrome alternator bracket. What I opted for was to merely extend the upper bolt forward with the extension of a bracket and new short bolt. The bottom bolt stays as it currently is with the exception of a few spacer washers added.
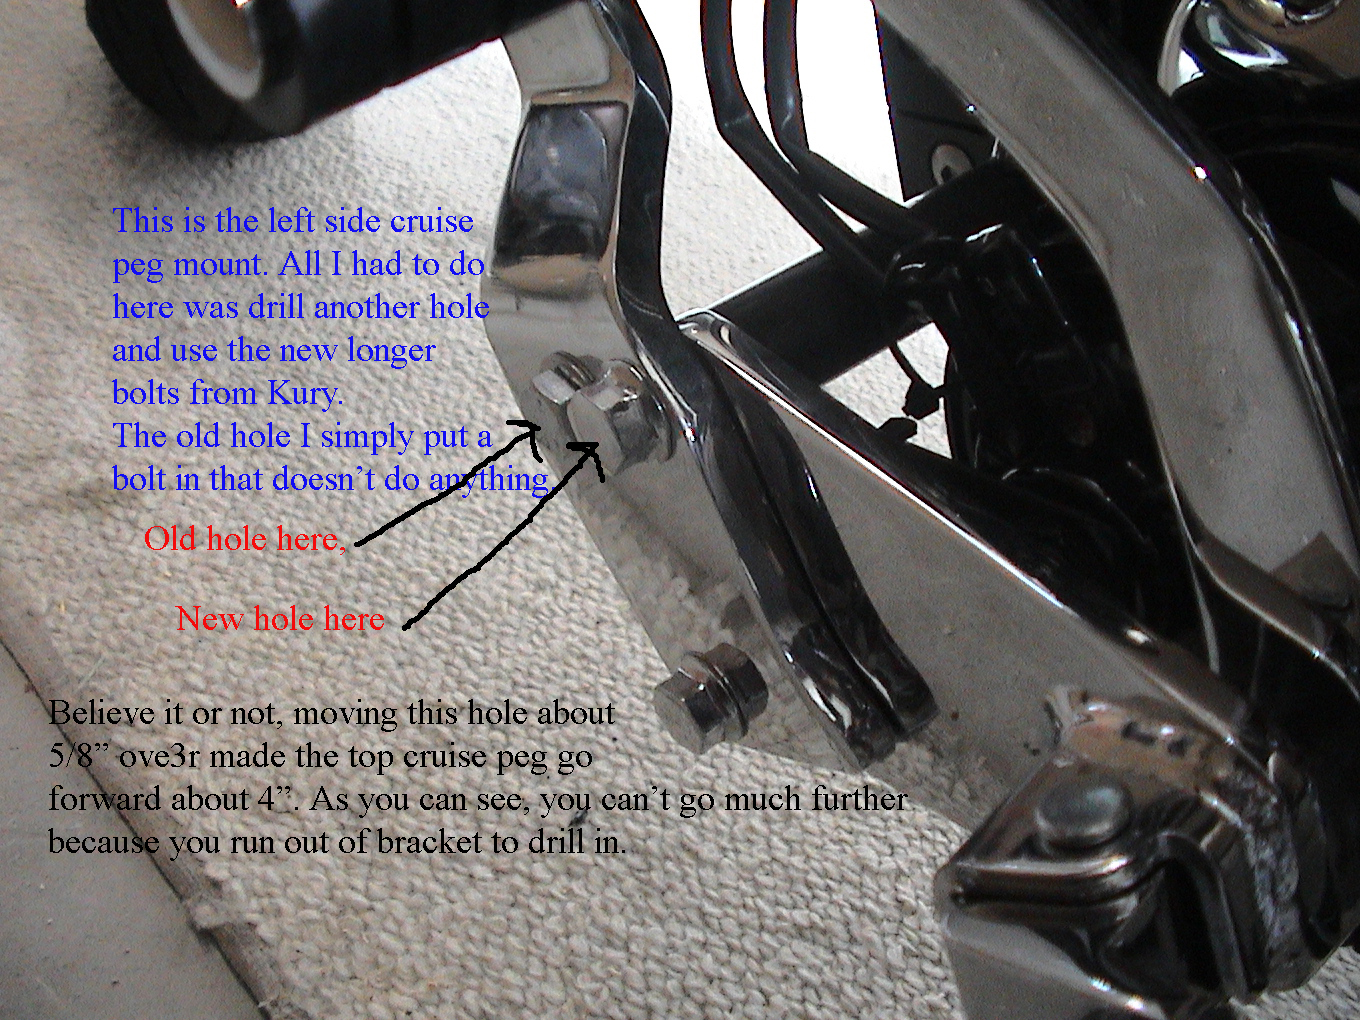
On the left side, all you have to do is drill a new whole behind the top bolt hole in the cruise peg bracket, and again, keeping the bolt in the lower hole, just rotate the peg forward until you get the peg out front as far as you want it, then mark for a new hole and drill one. On mine, I ended up drilling the whole as far in back of the original hole as I could, to get the bracket to move as far forward as possible; then I made the bracket for the right side to match.
Below is a longer explanation I'm working on getting this posted to the web--time permitting.
Also, here are some pictures which should help.
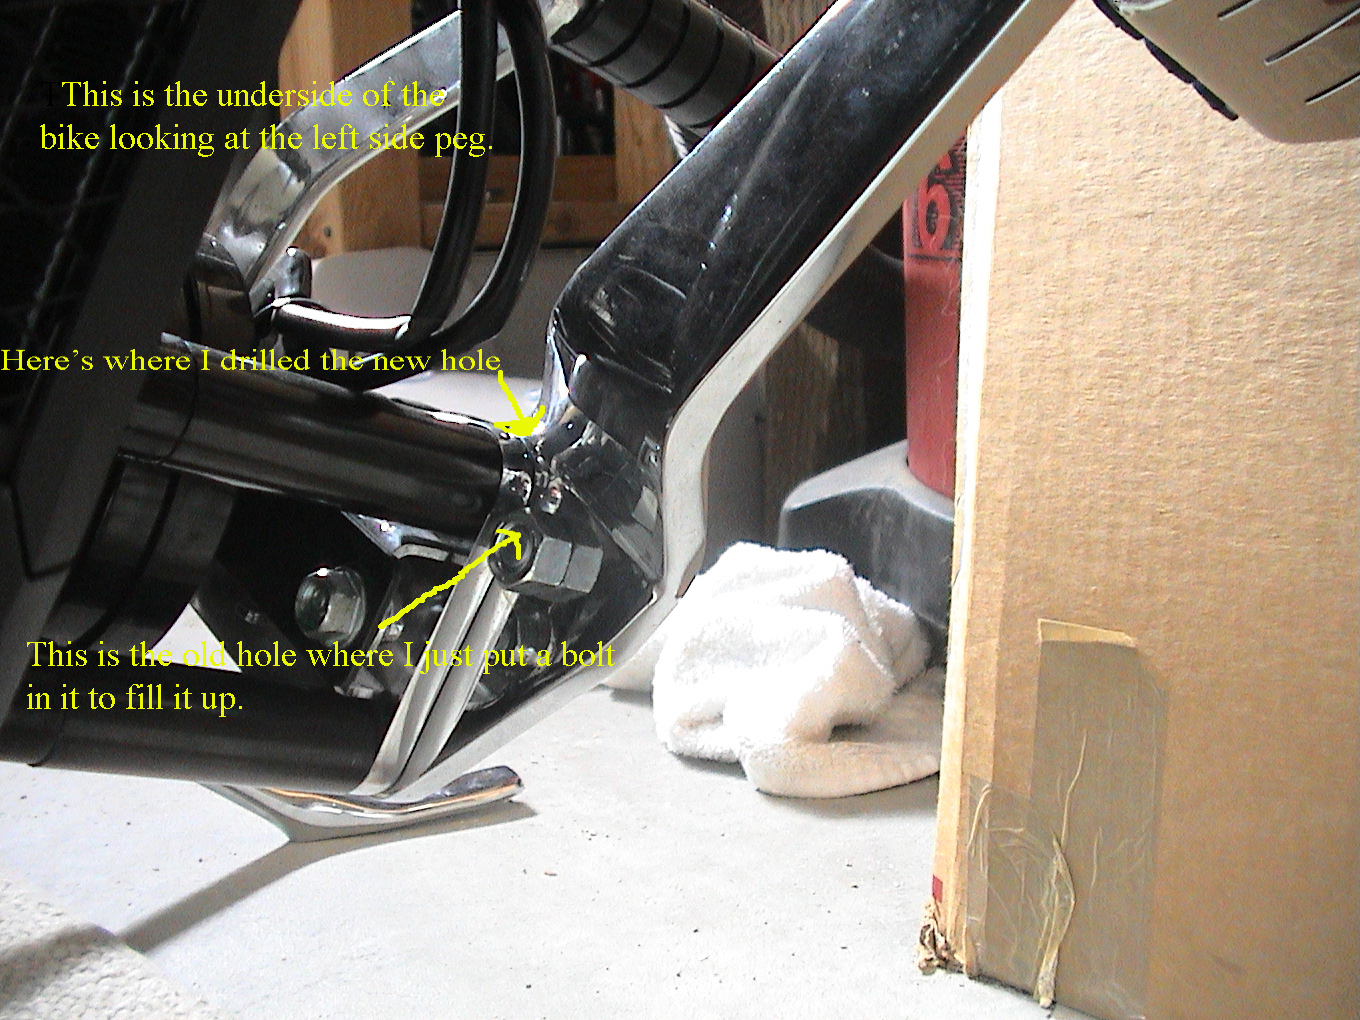
I’m sending you three photos with some useful info on them. Essentially the left highway peg gets another hole drilled in it—that’s all. I drilled that hole first as far as I could before I felt that I was getting too close to the edge of the highway peg’s top edge. That pushed the peg pedal forward about 4”. I simply put another “dummy” bolt and nut in the old hole just to fill it up.
For the right side, I wanted an already chromed piece of metal that would be
strong enough to extend the upper bolt forward. I opted for a chromed alternator
bracket from auto zone and then I simply cut it to fit with a hack saw. What
you are doing is using the original lower holes on both highways pegs (and the
new longer bolts) that were supplied with your Kury highway pegs. On the right
side it is not necessary to drill a new hole because you are just using an extension
bracket which you will make. Using the installed lower bolt as a pivot point,
just move the highway peg forward until you are in a comfortable riding position,
and fashion the bracket for the difference between the hole in the highway peg
and the hole in the frame of the bike. You’ll of course need an additional
bolt and nut for the new bracket you just made, and the dummy bolt for the left
side. The washers are necessary because your new bracket moves the highway pegs
out a bit so the washers are just spacers that are the same thickness as the
bracket you formed, but that again it's a hardware store inventory kind of short
bolt and nut. I hope these pictures help. It might sound tough just because
it’s hard to write about. Doing it actually only took me about an hour
once I had the concept of what to do.
Click below here to get a printable copy of the above, or on the three pictures to see an illustration of what I'm trying to say...
| Print the above. | Picture Left side | Picture Right Side |
| Picture of the underneath | ||